Next.js Learn - 13. Handling Errors 번역

본 포스팅은 Next.js Learn의 Handling Errors 내용을 번역한 것입니다.
이전 장에서는 Server Actions를 사용하여 데이터를 변경하는 방법을 배웠습니다. 이제 JavaScript의 try/catch문과 Next.js API를 사용하여 오류를 우아하게 처리하는 방법을 살펴보겠습니다.
In this chapter
앞으로 다룰 주제는 다음과 같습니다.
- 특수
error.tsx파일을 사용하여 경로 세그먼트에서 오류를 포착하고 사용자에게 대체 UI를 표시하는 방법 notFound함수와not-found파일을 사용하여 404 오류(존재하지 않는 리소스의 경우)를 처리하는 방법
Adding try/catch to Server Action
먼저 Server Action에 자바스크립트의 try/catch문을 추가하여 오류를 정상적으로 처리할 수 있도록 해보겠습니다.
이 작업을 수행하는 방법을 알고 있다면 몇 분 정도의 시간을 들여 Server Action을 업데이트하거나 아래 코드를 복사할 수 있습니다.
1
2
3
4
5
6
7
8
9
10
11
12
13
14
15
16
17
18
19
20
21
22
23
24
25
26
// /app/lib/actions.ts

export async function createInvoice(formData: FormData) {
  const { customerId, amount, status } = CreateInvoice.parse({
    customerId: formData.get('customerId'),
    amount: formData.get('amount'),
    status: formData.get('status'),
  });

  const amountInCents = amount * 100;
  const date = new Date().toISOString().split('T')[0];

  try {
    await sql`
      INSERT INTO invoices (customer_id, amount, status, date)
      VALUES (${customerId}, ${amountInCents}, ${status}, ${date})
    `;
  } catch (error) {
    return {
      message: 'Database Error: Failed to Create Invoice.',
    };
  }

  revalidatePath('/dashboard/invoices');
  redirect('/dashboard/invoices');
}
1
2
3
4
5
6
7
8
9
10
11
12
13
14
15
16
17
18
19
20
21
22
23
24
// /app/lib/actions.ts

export async function updateInvoice(id: string, formData: FormData) {
  const { customerId, amount, status } = UpdateInvoice.parse({
    customerId: formData.get('customerId'),
    amount: formData.get('amount'),
    status: formData.get('status'),
  });

  const amountInCents = amount * 100;

  try {
    await sql`
        UPDATE invoices
        SET customer_id = ${customerId}, amount = ${amountInCents}, status = ${status}
        WHERE id = ${id}
      `;
  } catch (error) {
    return { message: 'Database Error: Failed to Update Invoice.' };
  }

  revalidatePath('/dashboard/invoices');
  redirect('/dashboard/invoices');
}
1
2
3
4
5
6
7
8
9
10
11
// /app/lib/actions.ts

export async function deleteInvoice(id: string) {
  try {
    await sql`DELETE FROM invoices WHERE id = ${id}`;
    revalidatePath('/dashboard/invoices');
    return { message: 'Deleted Invoice.' };
  } catch (error) {
    return { message: 'Database Error: Failed to Delete Invoice.' };
  }
}
try/catch 블록 외부에서 redirect가 호출되는 방식에 주목하세요. redirect가 에러를 발생시키고, 이 에러는 catch 블록에 포착됩니다. try/catch가 성공한 경우에만 redirect에 도달하기 위해서는 try/catch 후에 redirect를 호출하면 됩니다.
이제 Server Action에서 오류가 발생하면 어떤 일이 발생하는지 확인해 보겠습니다. 미리 오류를 던지면 이 작업을 수행할 수 있습니다. 예를 들어 deleteInvoice 액션에서 함수 맨 위에 오류를 던집니다.
1
2
3
4
5
6
7
8
9
10
11
12
13
14
// /app/lib/actions.ts

export async function deleteInvoice(id: string) {
  throw new Error('Failed to Delete Invoice');

  // Unreachable code block
  try {
    await sql`DELETE FROM invoices WHERE id = ${id}`;
    revalidatePath('/dashboard/invoices');
    return { message: 'Deleted Invoice' };
  } catch (error) {
    return { message: 'Database Error: Failed to Delete Invoice' };
  }
}
인보이스를 삭제하려고 하면 localhost에 오류가 표시될 것입니다. 이러한 오류는 잠재적인 문제를 조기에 발견할 수 있으므로 개발하는 데 도움이 됩니다. 그러나 사용자 입장에서 갑작스러운 오류를 방지하고 애플리케이션을 계속 실행할 수 있도록 하려는 경우도 있습니다. 이것이 Next.js error.tsx 파일이 필요한 이유입니다.
Handling all errors with error.tsx
error.tsx 파일은 경로 세그먼트의 UI 경계를 정의하는 데 사용할 수 있습니다. 이 파일은 예기치 않은 오류에 대한 포괄적인 역할을 하며 사용자에게 대체 UI를 표시할 수 있습니다. /dashboard/invoices 폴더에 error.tsx라는 새 파일을 만들고 다음 코드를 붙여넣습니다.
1
2
3
4
5
6
7
8
9
10
11
12
13
14
15
16
17
18
19
20
21
22
23
24
25
26
27
28
29
30
31
32
33
// /dashboard/invoices/error.tsx

'use client';

import { useEffect } from 'react';

export default function Error({
  error,
  reset,
}: {
  error: Error & { digest?: string };
  reset: () => void;
}) {
  useEffect(() => {
    // Optionally log the error to an error reporting service
    console.error(error);
  }, [error]);

  return (
    <main className="flex h-full flex-col items-center justify-center">
      <h2 className="text-center">Something went wrong!</h2>
      <button
        className="mt-4 rounded-md bg-blue-500 px-4 py-2 text-sm text-white transition-colors hover:bg-blue-400"
        onClick={
          // Attempt to recover by trying to re-render the invoices route
          () => reset()
        }
      >
        Try again
      </button>
    </main>
  );
}
위의 코드에서 눈에 띄는 몇 가지 사항이 있습니다.
- “use client” :
error.tsx는 클라이언트 컴포넌트여야 합니다. - 두 개의 props를 허용합니다.
error: 이 객체는 JavaScript의 기본Error객체의 인스턴스입니다.reset: 오류 경계를 재설정하는 함수입니다. 이 함수가 실행되면 경로 세그먼트를 다시 렌더링하려고 시도합니다.
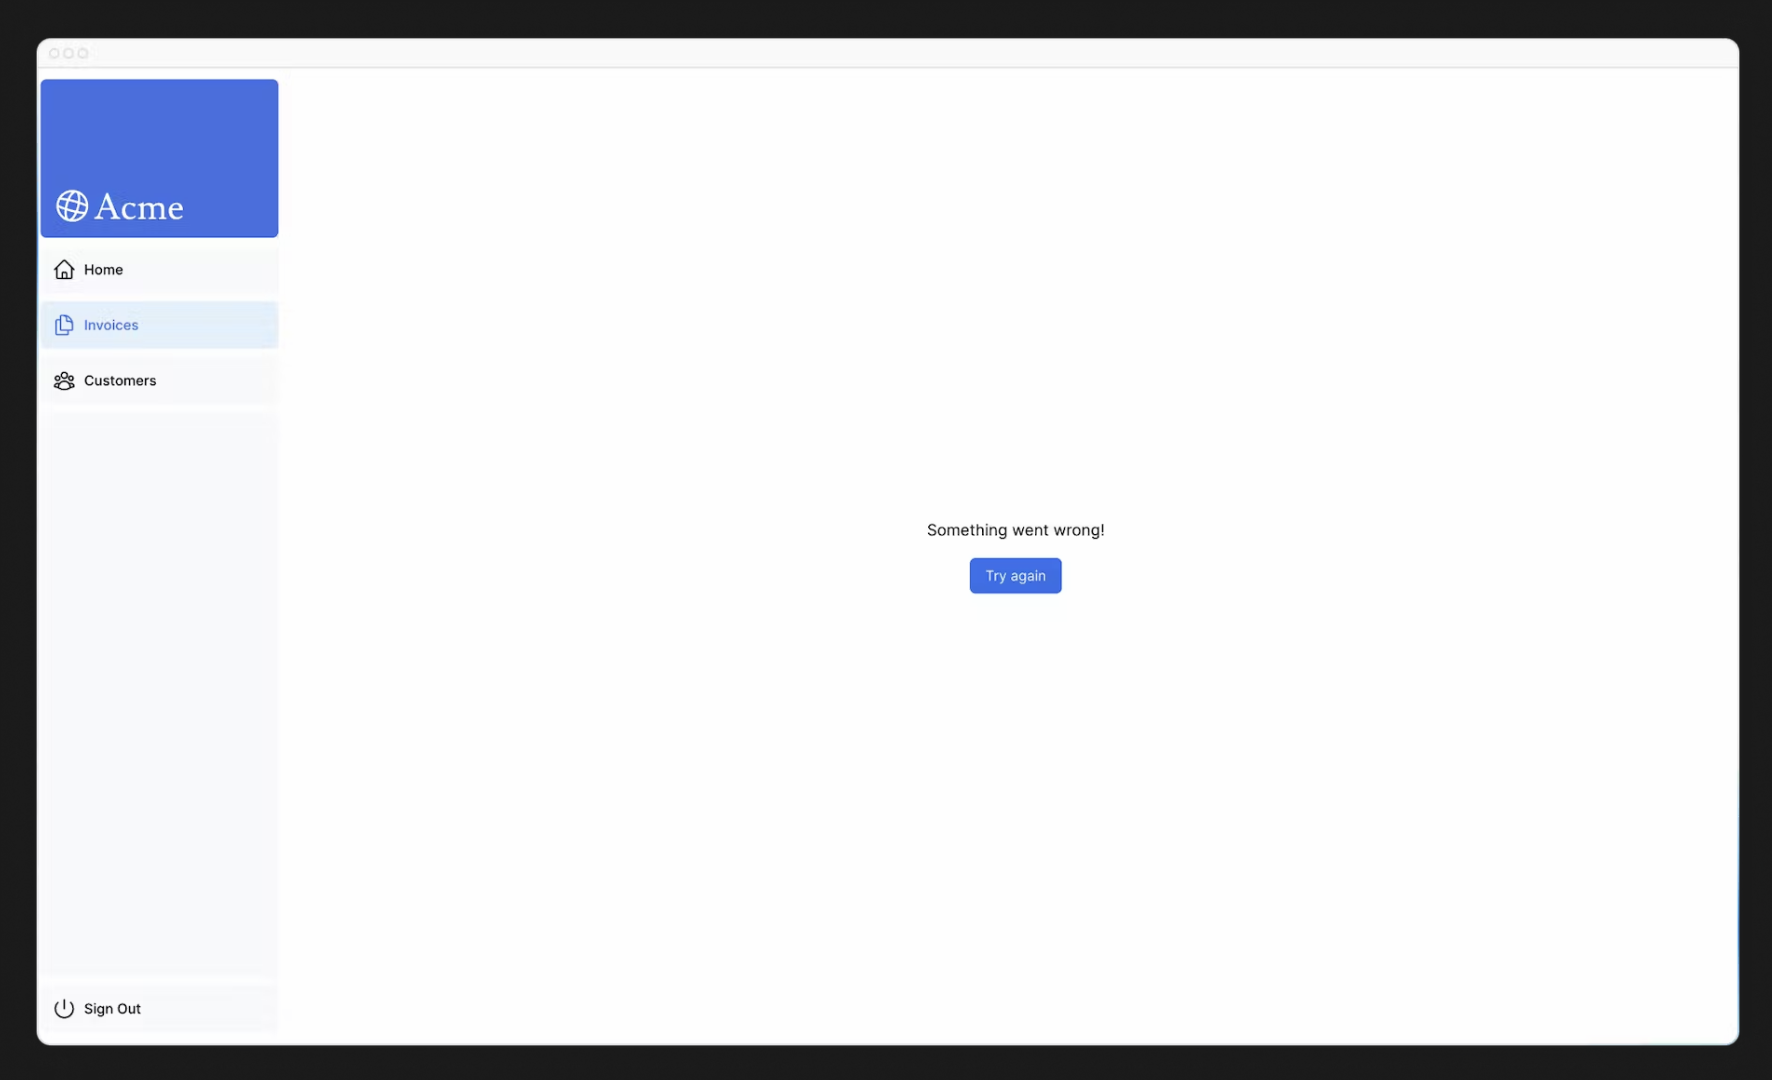
인보이스를 다시 삭제하려고 하면 다음과 같은 UI가 표시됩니다.
Handling 404 errors with the notFound function
오류를 정상적으로 처리할 수 있는 또 다른 방법은 notFound 함수를 사용하는 것입니다. error.tsx는 모든 오류를 포착하는 데 유용하지만, notFound는 존재하지 않는 리소스를 가져오려고 할 때 사용할 수 있습니다.
예를 들어 http://localhost:3000/dashboard/invoices/2e94d1ed-d220-449f-9f11-f0bbceed9645/edit를 참조하세요. 이것은 데이터베이스에 존재하지 않는 가짜 UUID입니다. error.tsx가 정의된 /dashboard/invoices의 하위 경로이기 때문에 error.tsx가 즉시 실행되는 것을 볼 수 있습니다.
좀 더 구체적으로 표시하고 싶다면 404 오류를 표시하여 사용자가 액세스하려는 리소스를 찾을 수 없음을 사용자에게 알릴 수 있습니다. 리소스를 찾지 못했는지 확인하려면 data.ts의 fetchInvoiceById 함수로 이동하여 반환된 인보이스를 콘솔에 로깅하면 됩니다.
1
2
3
4
5
6
7
8
9
10
11
12
13
14
// /app/lib/data.ts

export async function fetchInvoiceById(id: string) {
  noStore();
  try {
    // ...

    console.log(invoice); // Invoice is an empty array []
    return invoice[0];
  } catch (error) {
    console.error('Database Error:', error);
    throw new Error('Failed to fetch invoice.');
  }
}
이제 데이터베이스에 인보이스가 존재하지 않는다는 것을 알았으므로 notFound를 사용하여 처리해 보겠습니다. /dashboard/invoices/[id]/edit/page.tsx로 이동하여 'next/navigation'에서 { notFound }를 가져옵니다. 그런 다음 조건을 사용하여 인보이스가 존재하지 않는 경우 notFound를 호출할 수 있습니다.
1
2
3
4
5
6
7
8
9
10
11
12
13
14
15
16
17
18
19
// /dashboard/invoices/[id]/edit/page.tsx

import { fetchInvoiceById, fetchCustomers } from '@/app/lib/data';
import { updateInvoice } from '@/app/lib/actions';
import { notFound } from 'next/navigation';

export default async function Page({ params }: { params: { id: string } }) {
  const id = params.id;
  const [invoice, customers] = await Promise.all([
    fetchInvoiceById(id),
    fetchCustomers(),
  ]);

  if (!invoice) {
    notFound();
  }

  // ...
}
완벽합니다. 이제 특정 인보이스를 찾을 수 없는 경우 <Page>에서 오류를 발생시킵니다. 사용자에게 오류 UI를 표시하려면 /edit 폴더에 not-found.tsx 파일을 만듭니다.

그런 다음 not-found.tsx 파일 안에 다음 코드를 붙여넣습니다.
1
2
3
4
5
6
7
8
9
10
11
12
13
14
15
16
17
18
19
20
// /dashboard/invoices/[id]/edit/not-found.tsx

import Link from 'next/link';
import { FaceFrownIcon } from '@heroicons/react/24/outline';

export default function NotFound() {
  return (
    <main className="flex h-full flex-col items-center justify-center gap-2">
      <FaceFrownIcon className="w-10 text-gray-400" />
      <h2 className="text-xl font-semibold">404 Not Found</h2>
      <p>Could not find the requested invoice.</p>
      <Link
        href="/dashboard/invoices"
        className="mt-4 rounded-md bg-blue-500 px-4 py-2 text-sm text-white transition-colors hover:bg-blue-400"
      >
        Go Back
      </Link>
    </main>
  );
}
경로를 새로 고치면 이제 다음과 같은 UI가 표시됩니다.

명심해야 할 점은 notFound가 error.tsx보다 우선하므로 보다 구체적인 오류를 처리하고 싶은 때 사용할 수 있다는 것입니다.
Further reading
Next.js의 오류 처리에 대해 자세히 알아보려면 다음 문서를 참조하세요.